Checkered Dresser
Martha Leone
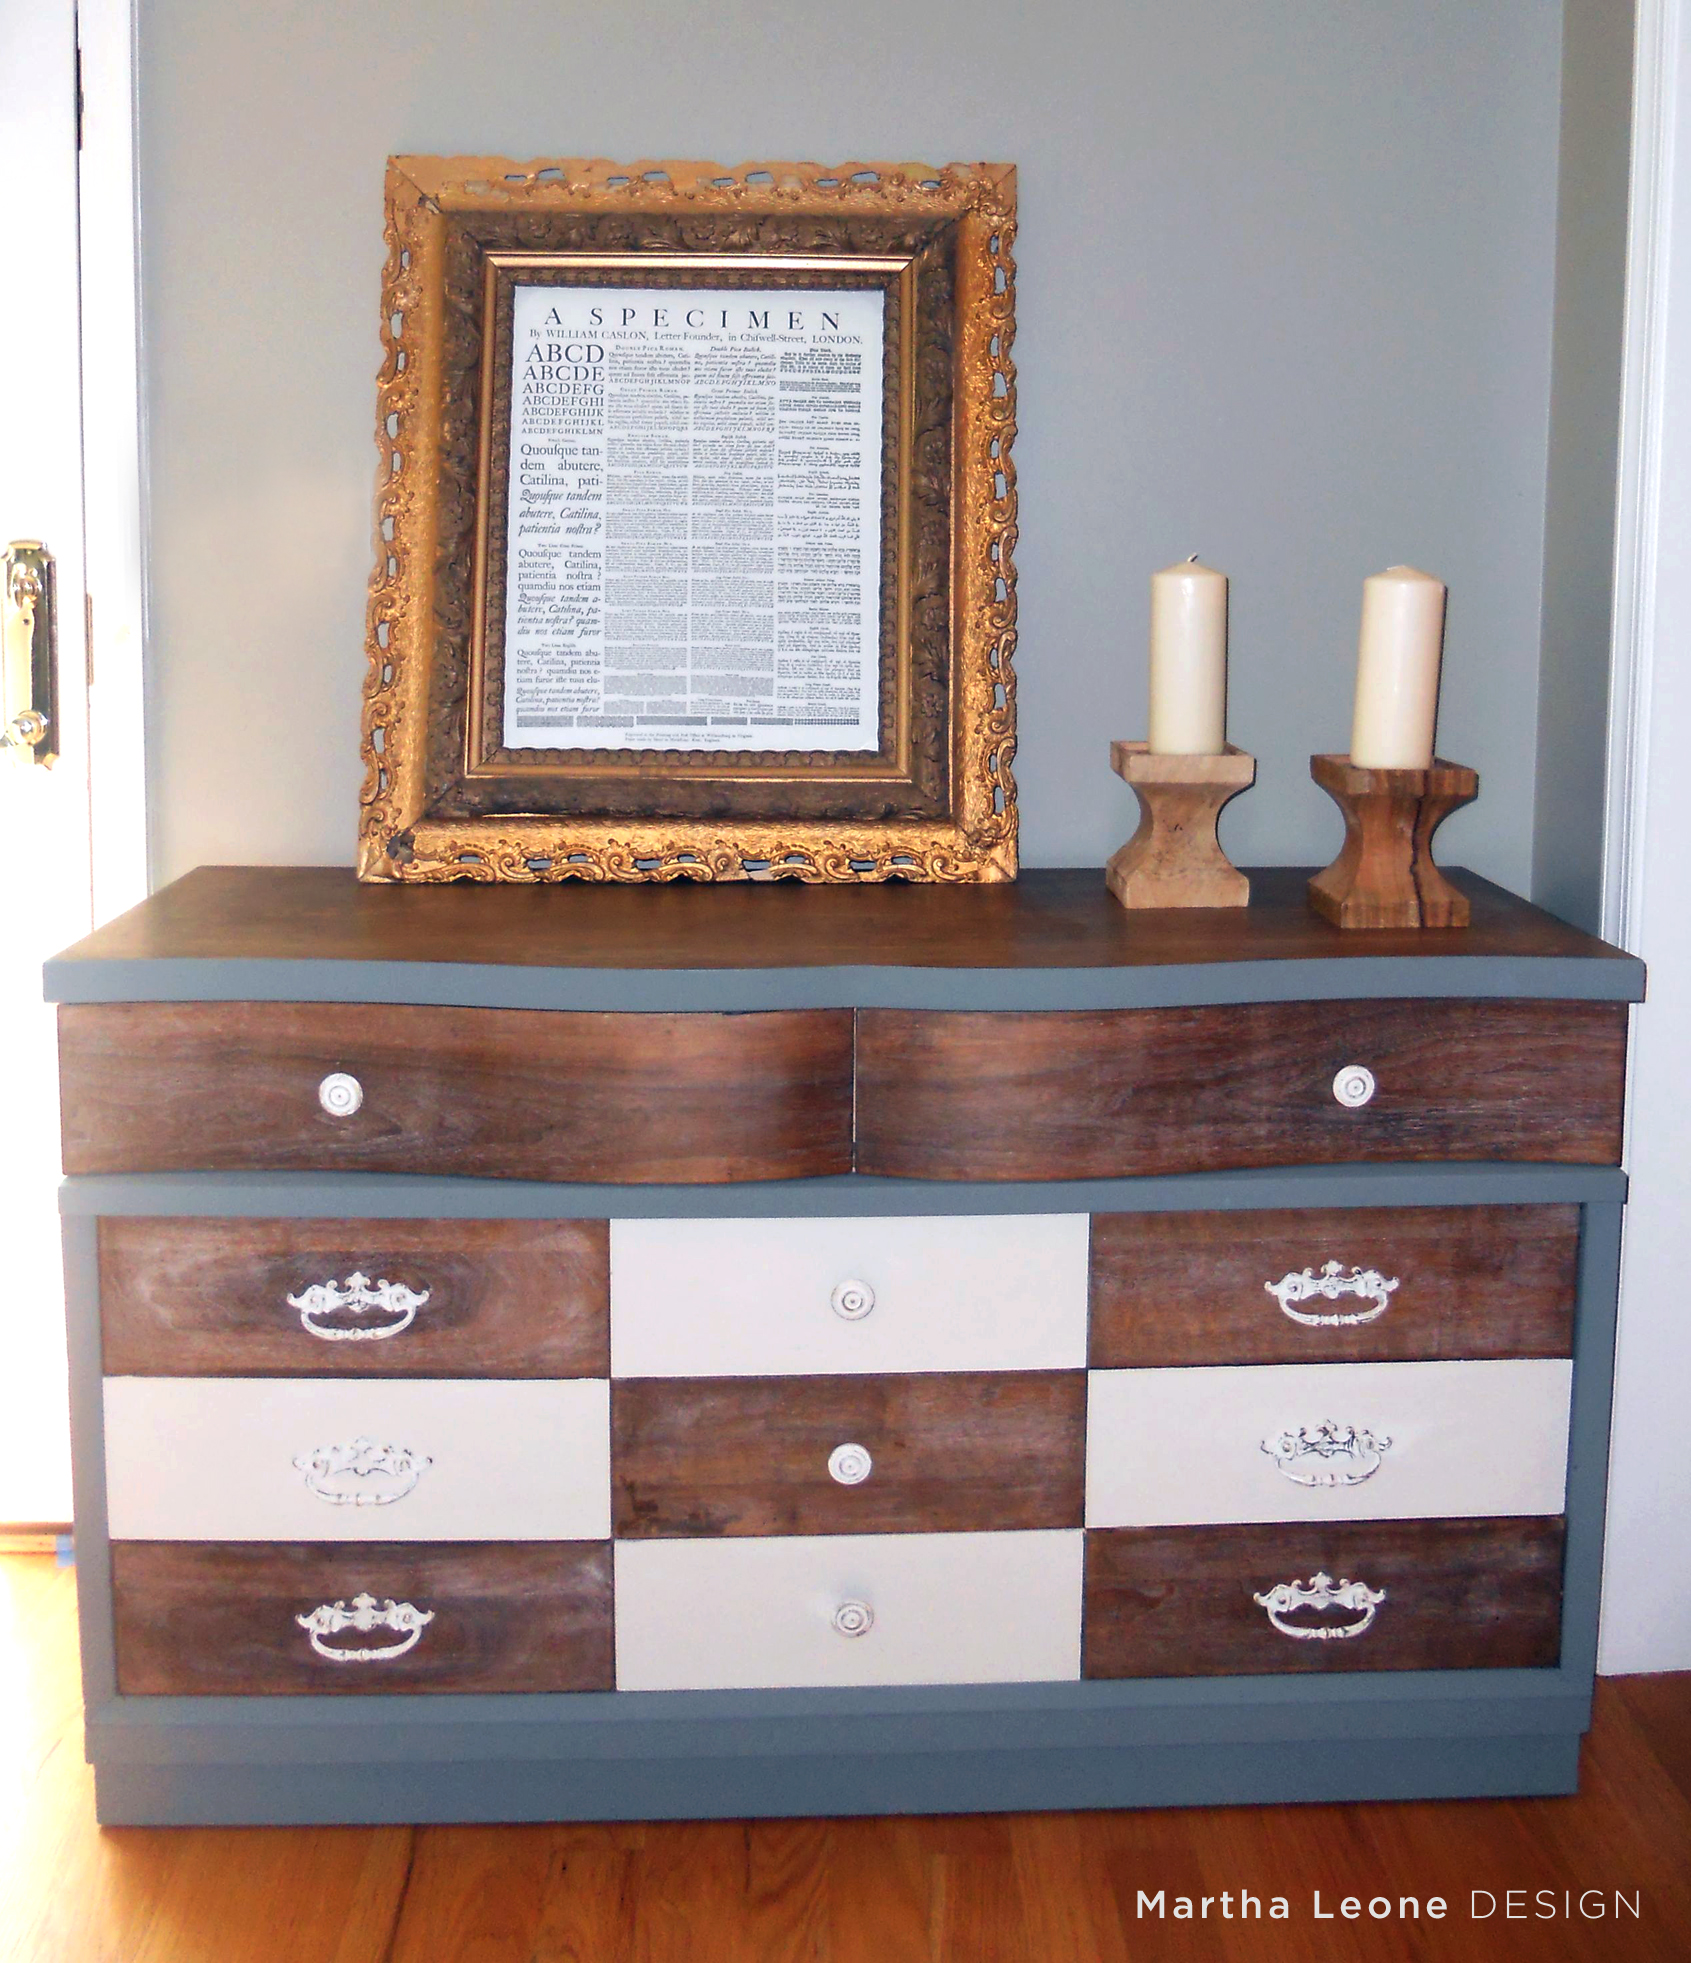
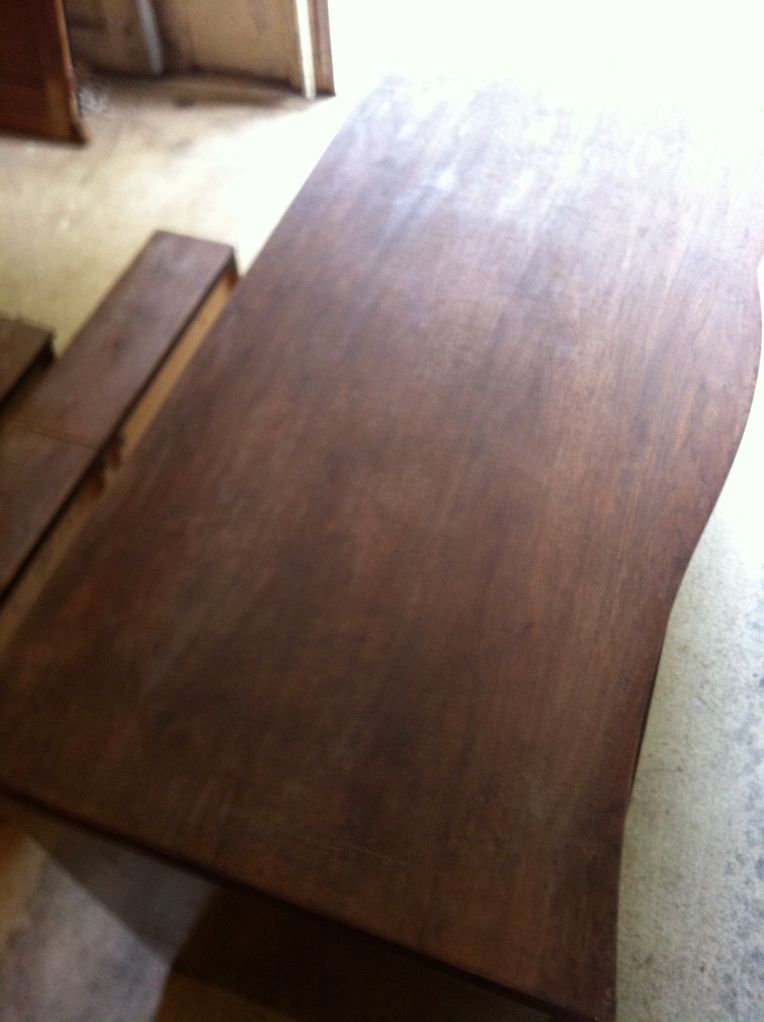
 My mom and I spent a few hours working on this beauty. At first glance, it's a nice dresser, well made with a very thick wood veneer on it. But as I looked more closely, I discovered that although the placement of drawers seems symmetrical, they are anything but. An unexpected break up drawers makes for an unusual asymmetrical construction (you can see the construction in the process photos at the end of this post).
Before the previous owner stained this dresser, it was painted white. I love how the original white color is embedded in the wood grain. I'm so glad the stripper didn't remove that!
Materials • Paint — Custom mix of Annie Sloan Chalk Paint in Provence and CoCo, Benjamin Moore creme/white color • Stripper • 120 grit sand paper • Paint thinner or denatured alcohol • Synthetic Brushes • Annie Sloan Cear Wax
Prep 1. We stripped the drawer fronts and top of the dresser. 2. After the old finish had been completely removed, we wiped the dresser with a rag soaked with paint thinner. You can also use denatured alcohol for this step. 3. The top was lightly sanded with 120 grit sand paper then wiped down to remove the dust.
Painting 1. After the beautiful raw wood was revealed, we set out to assign a palette of neutral colors that would compliment the beauty of the wood color. 2. Then came the most important step... with paper and colored pencils in hand, we sketched several designs until we arrived at a nice balance of all three colors. 3. The piece was painted two coats of each color then lightly sanded to achieve a smooth finish. Although I enjoy distressing furniture, this piece didn't need extra texture. I think the added texture would have compromised the design concept. 4. Two coats of Annie Sloan Clear Wax was applied.
Lessons learned
When you buy a piece, consider removing a bit of the old stain/paint to get a peek at the wood in its nakedness. You just might find something stunning that shouldn't be covered up with paint. I try to keep my ideas fluid as I'm planning a piece so that I don't miss an opportunity to embrace nice surprises... like the amazing wood we found underneath layers of polyurethane and stain.


http://abowlfulloflemons.blogspot.com/" http://www.504main.com/ http://www.myrepurposedlife.net
