One can of paint, two paint techniques.
Martha Leone
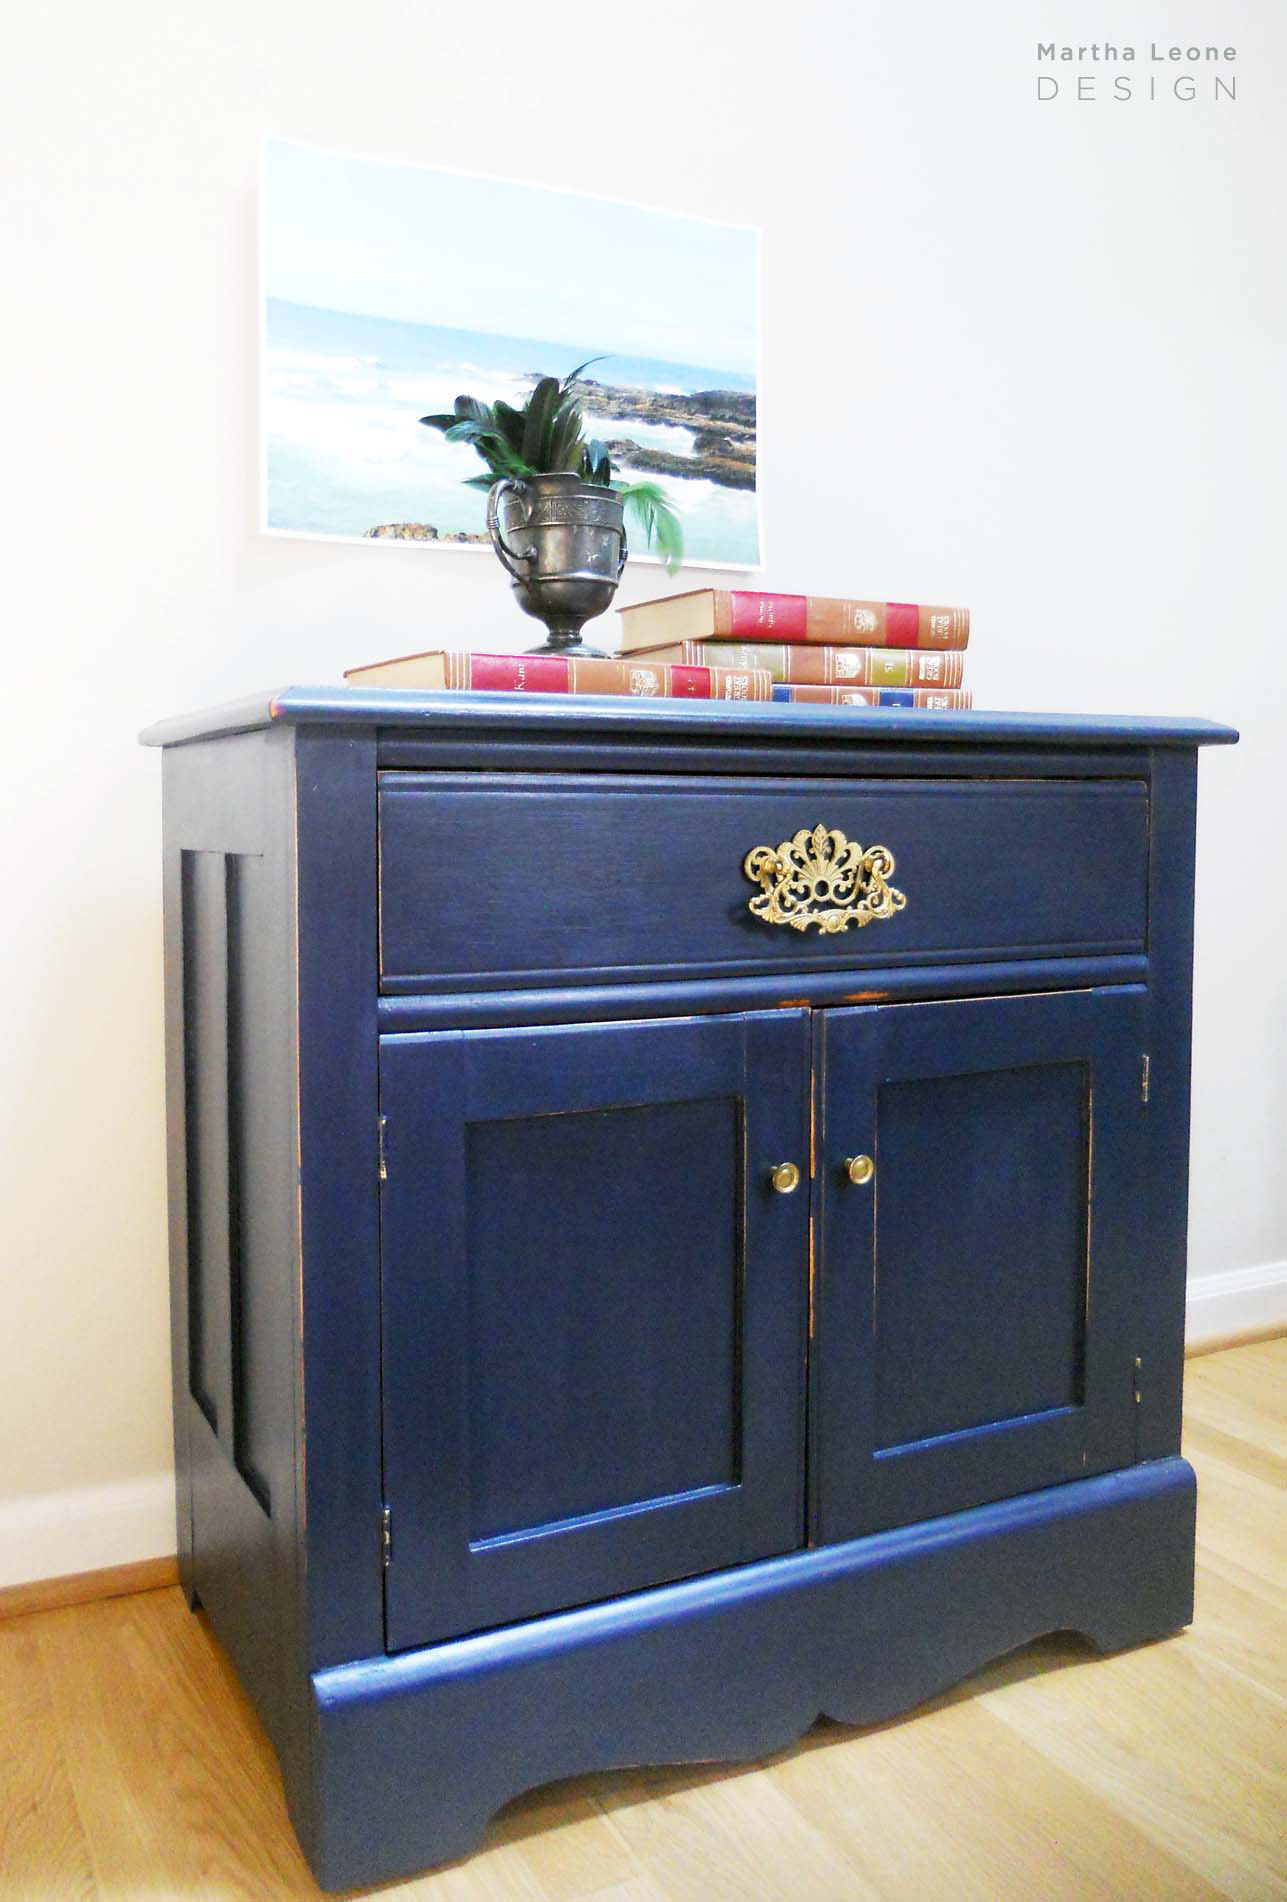 It's been a while since I shared a painting tutorial with my readers. I figure you get lots of advice from other furniture painters out there. Rather, my focus is on the creative process and how ideas are formed and expressed. I'll be writing more on that subject in the future. But for today, here are two projects with a similar look but different painting process:
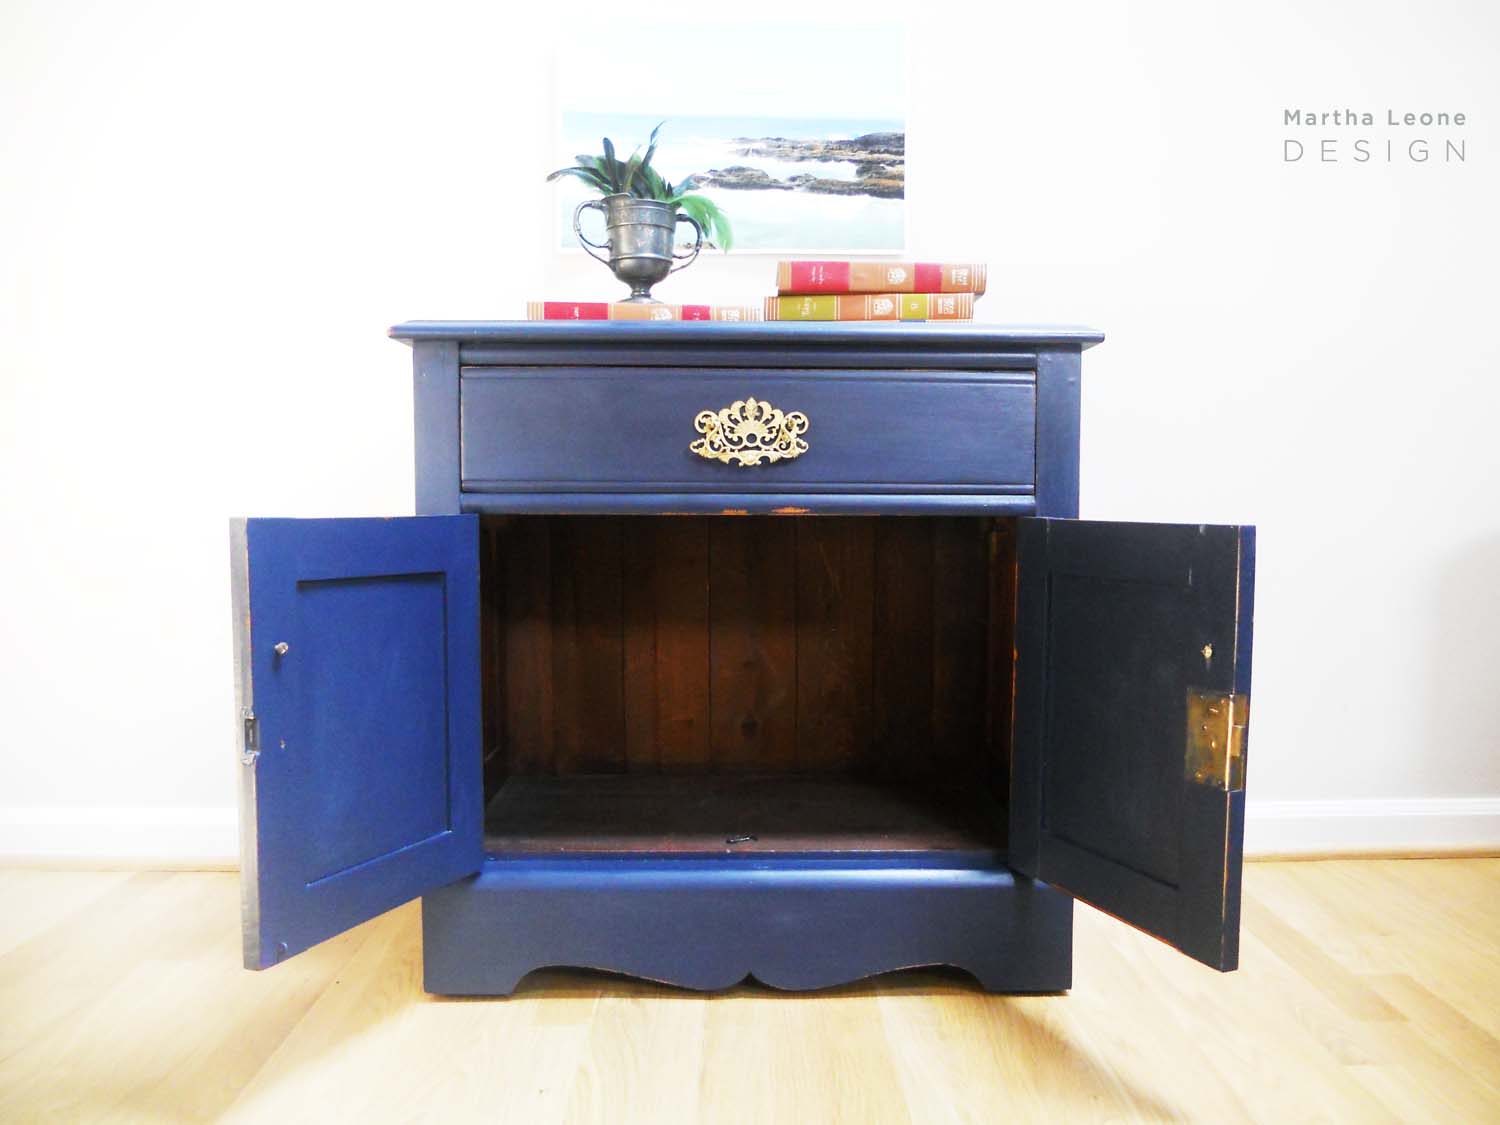
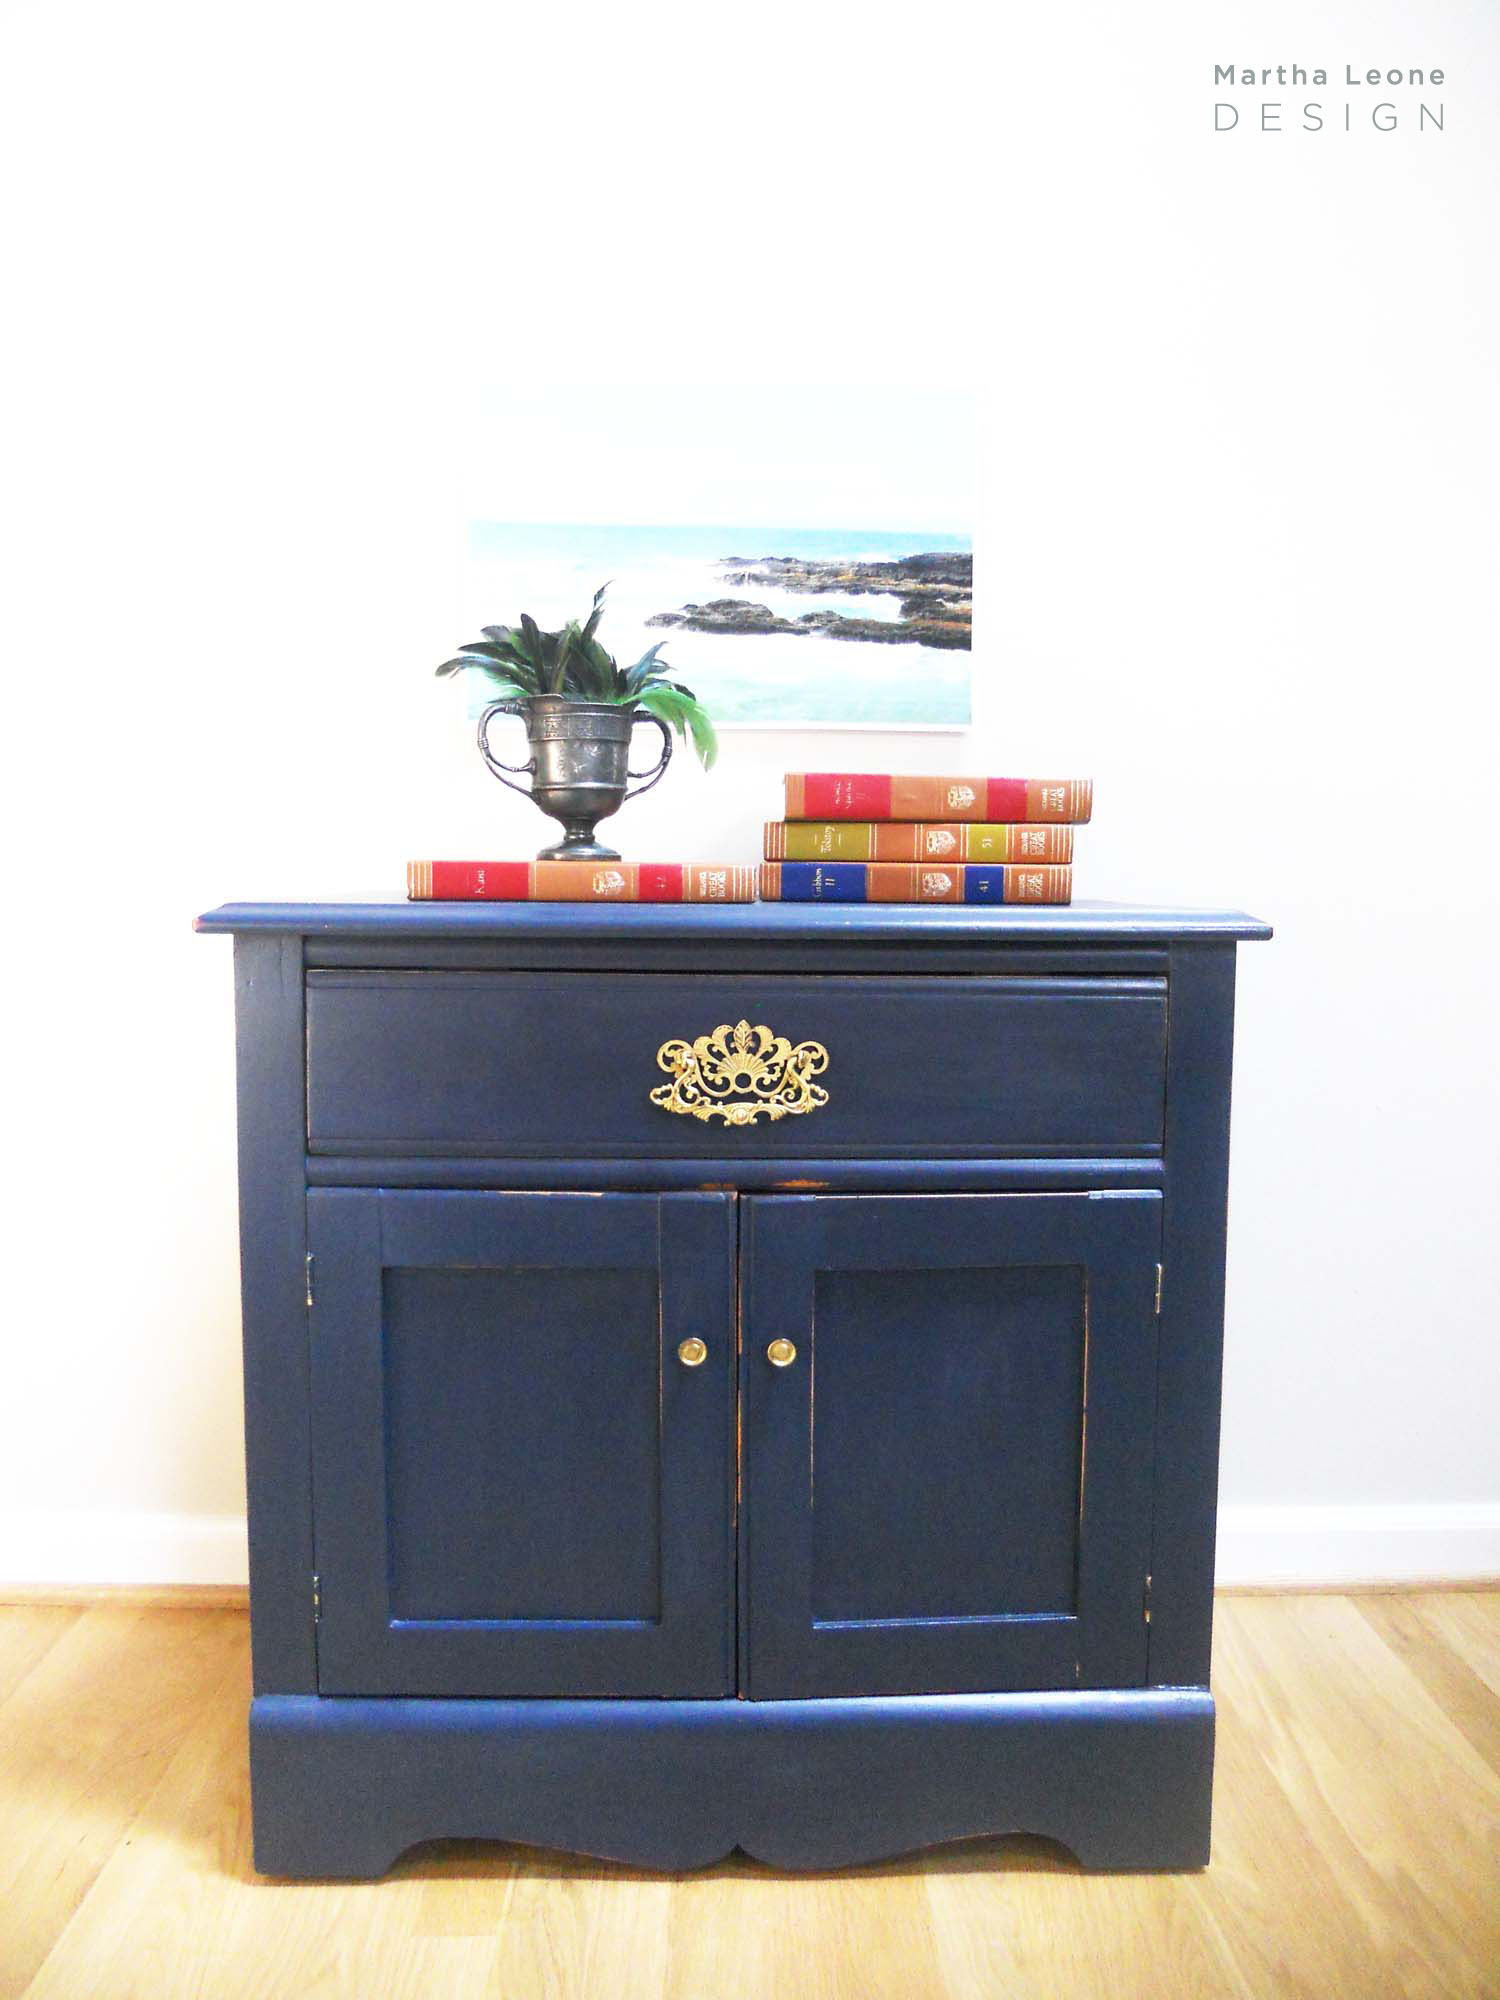
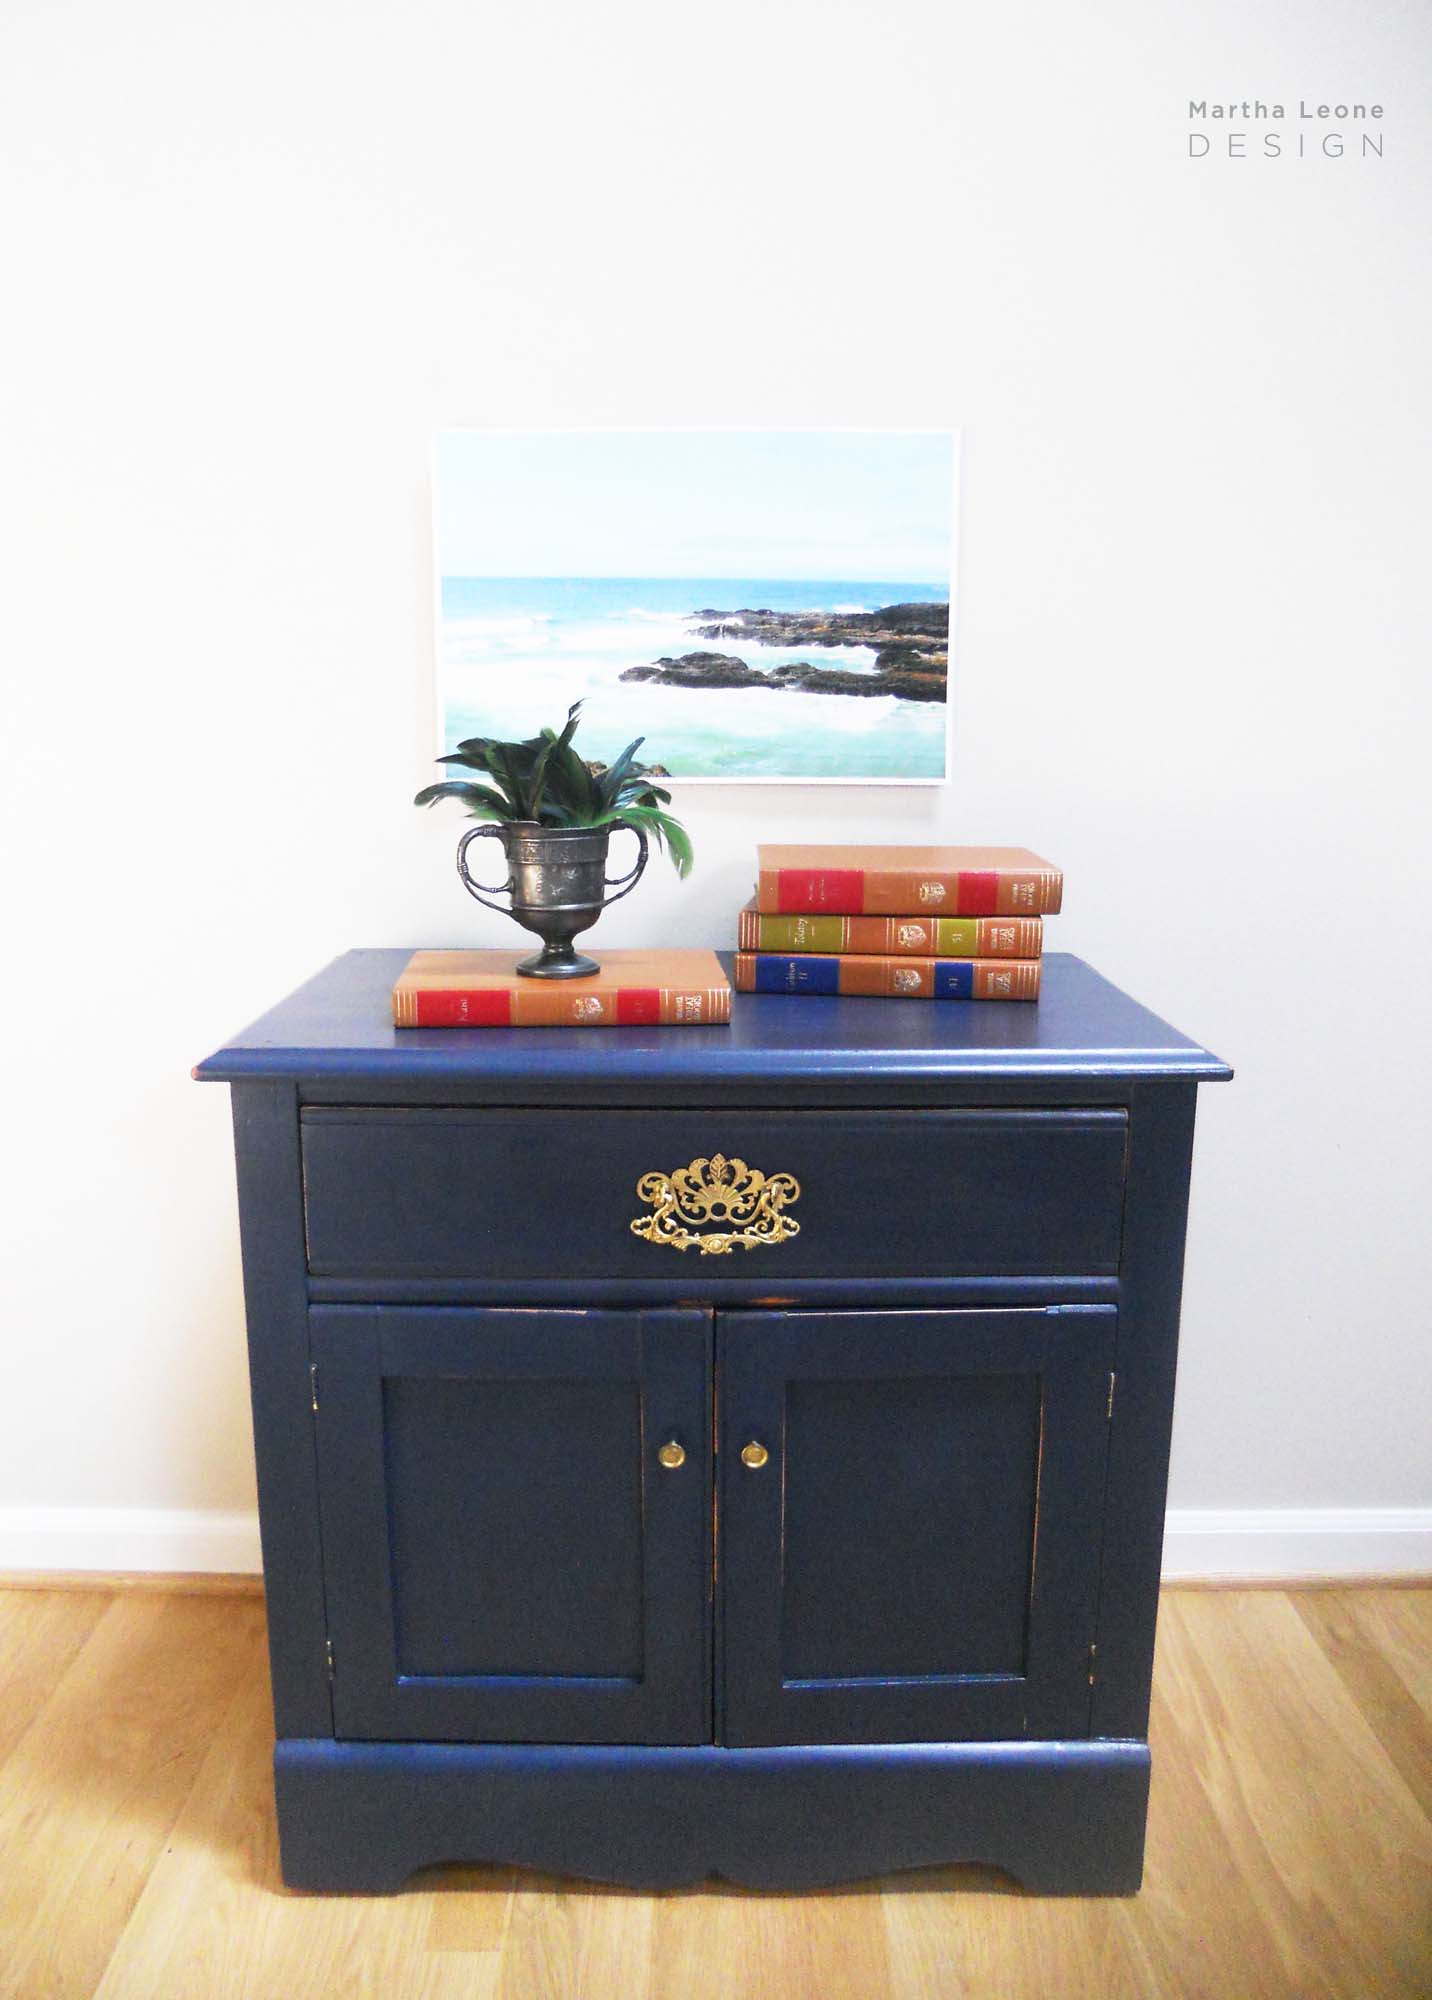
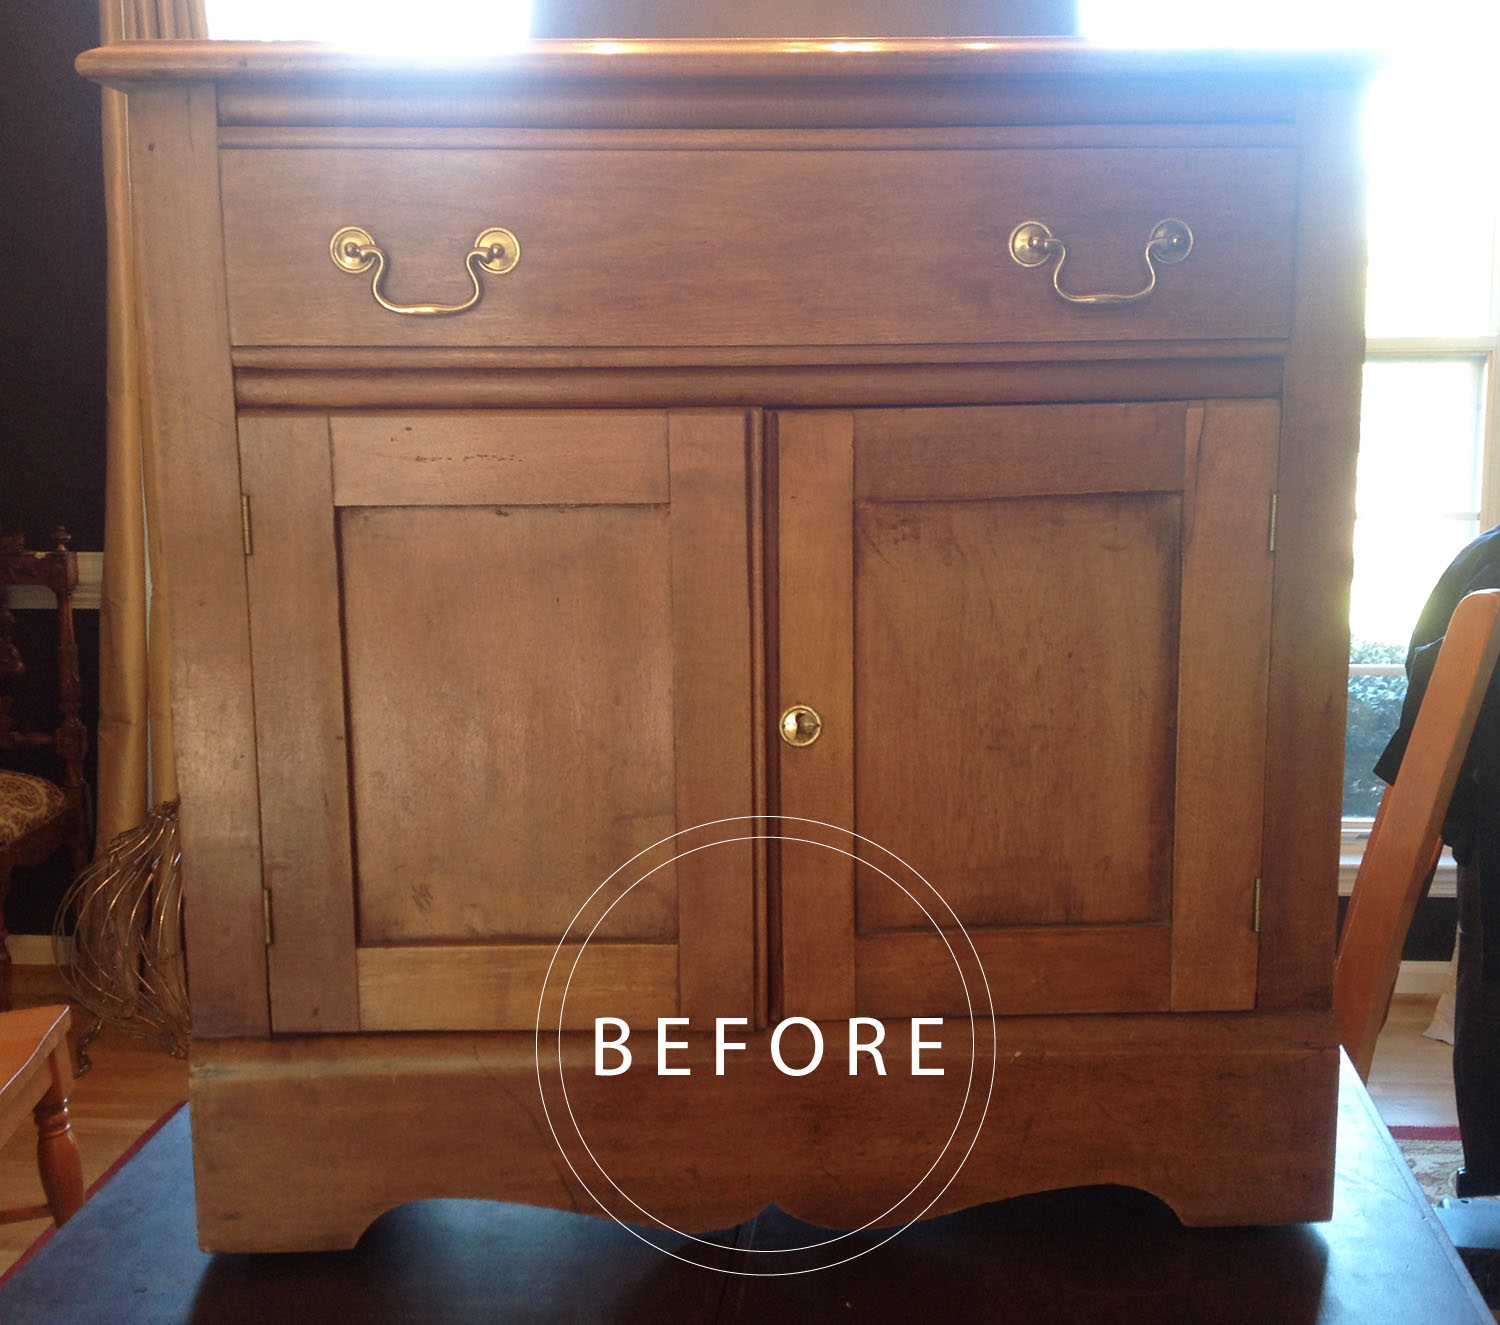
Homemade chalk paint on an antique petite cabinet This piece is old so I knew the homemade chalk paint would adhere well to it. No priming was necessary.
- Cleaned the piece with a rag.
- Mixed small batch of homemade chalk paint.
- Painted two coats then distressed.
- Sealed with polyacrylic although wax would have been a great sealer.
- Painted the antique drawer pull and installed.
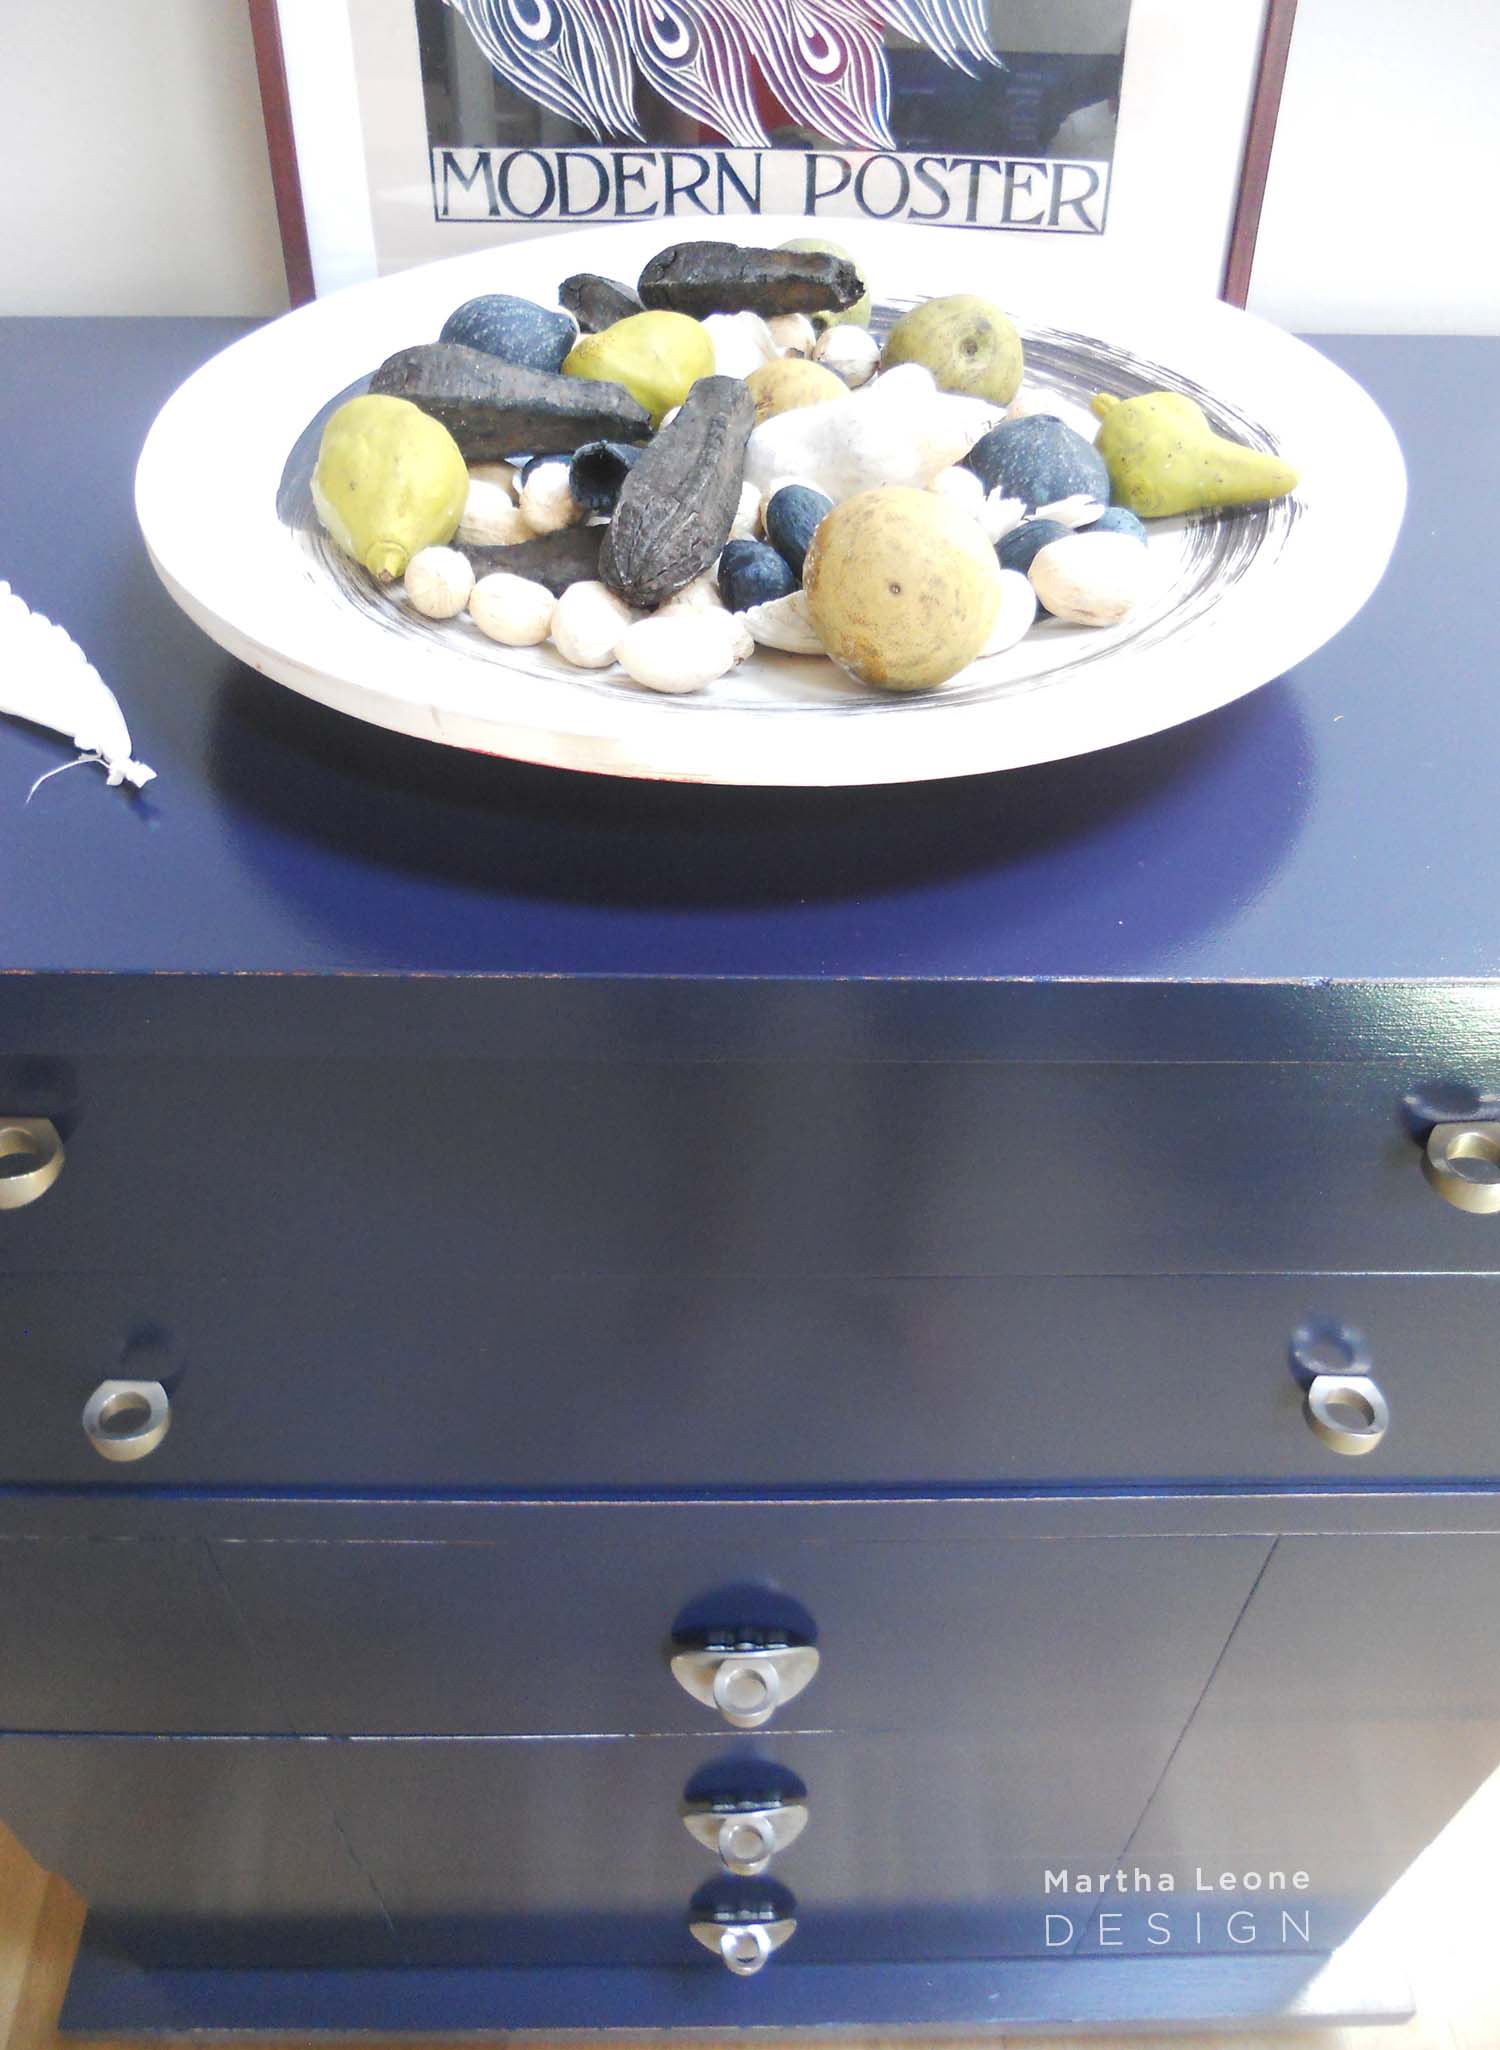
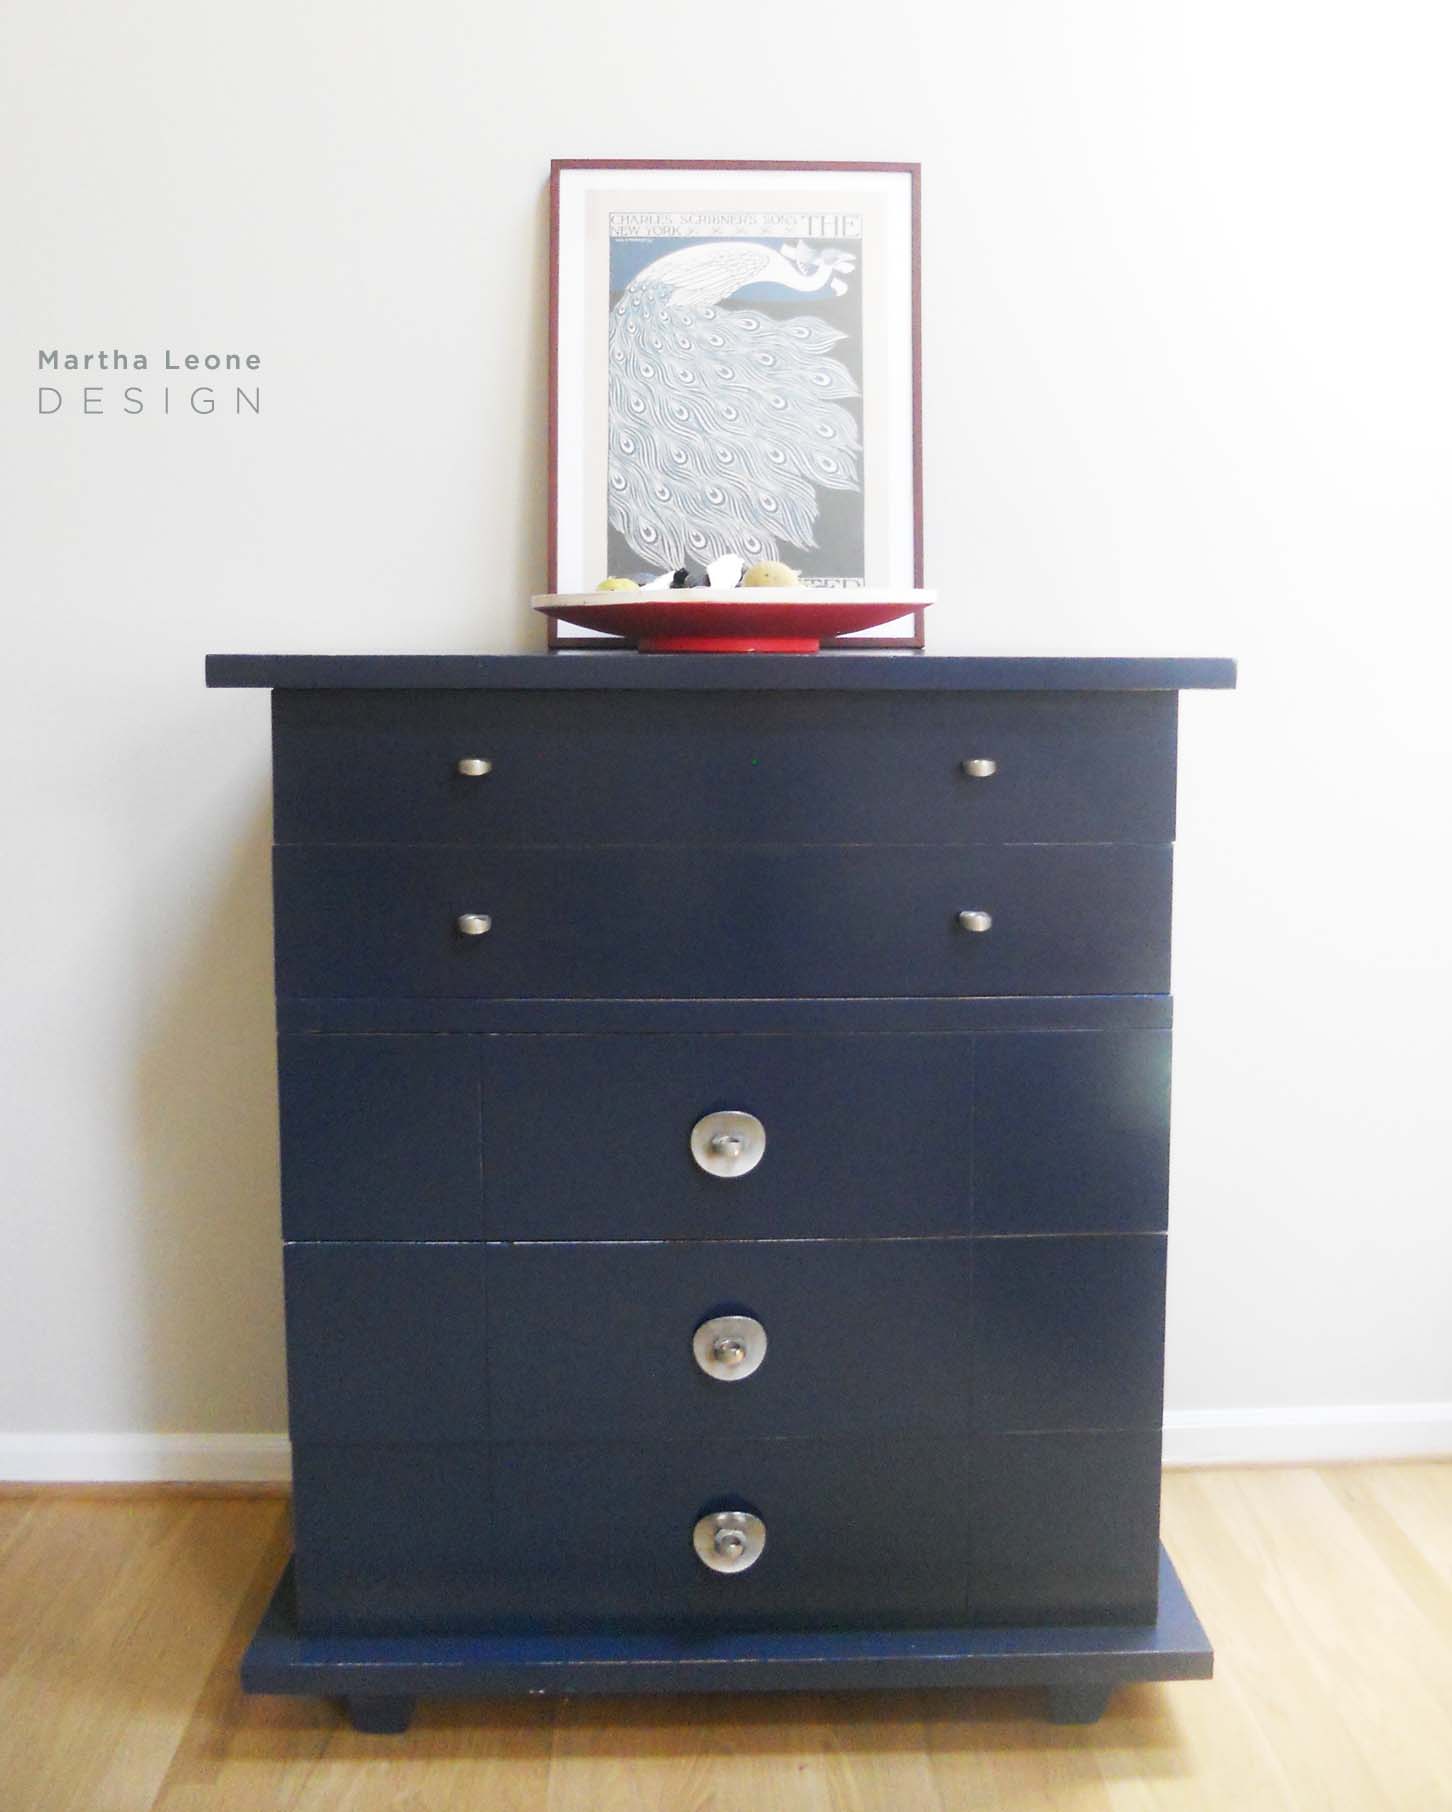
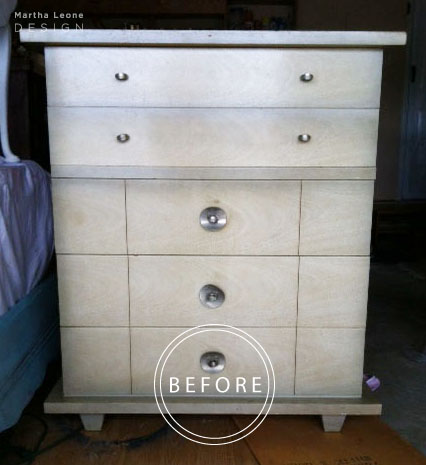
Primed and painted mid-century dresser This piece needed a glossy finish with minimal distressing.
- Cleaned and sanded by hand.
- Primed with an oil based tinted Benjamin Moore primer. Used a 6" roller.
- Painted two coats with a 6" foam roller.
- Lightly distressed along the edges.
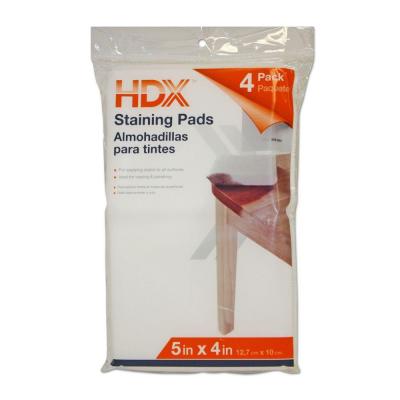
- Used a staining pad to seal with Minwax Wipe-On Poly.
- Used original hardware.
For best results, I used staining pads to apply the wipe-on poly and 6" foam rollers to cover flat surfaces when brush marks aren't intended.
Follow me on Instagram as I'll be sharing more process shots in the coming weeks!
